





You’ve done everything right. You replaced that worn-out rubber strip at the bottom of your garage door and even upgraded the weatherstripping along the sides. Yet, on a windy day, you still feel that unmistakable draft. Your garage remains stubbornly cold in the winter, and that corner by the door is a favorite runway for spiders and other unwelcome critters.
You’ve tackled the most obvious culprits, but you might be missing the real source of the leak. Most homeowners focus on the seals that press against the moving door, but the true air gaps are often hiding in plain sight: in the permanent structure around the door itself. These are the small but mighty gaps between the wooden garage door frame and the wall of your house.
Sealing these hidden leaks is the difference between a garage that’s “mostly sealed” and one that’s truly protected from the elements, contributing to a more comfortable home and lower energy bills.
More Than Just Weatherstripping: The Anatomy of a Garage Seal
When we talk about sealing a garage door, we’re actually talking about a system of seals working together. Most people are familiar with the primary seals:
- Bottom Seal: The flexible rubber or vinyl gasket on the bottom edge of the door that compresses against the concrete.
- Weatherstripping (Stop Molding): The vinyl or rubber strips attached to the door frame that the face of the garage door presses against when closed.
These are essential, but they only seal the moving parts. The often-overlooked weak link is the frame-to-wall gap. This is the seam where the entire garage door frame assembly is attached to your home’s siding, brick, or stucco. Over time, settling, temperature changes, and wear can cause this seam to separate, creating a direct path for air, moisture, and pests.
Addressing this area is one of the most effective ways to improve your home’s thermal barrier, showcasing the big benefits of a simple upgrade like garage door weatherstripping for the entire opening.
The Hunt for Hidden Drafts: A Simple 2-Step Diagnostic Plan
Before you can seal the leaks, you have to find them. You don’t need fancy equipment—just a little patience and a flashlight.
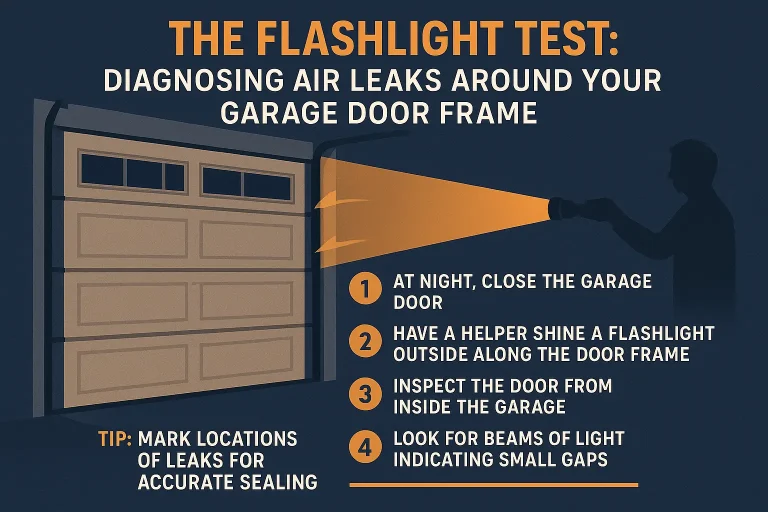
Step 1: Diagnose the Leak with the Flashlight Test
This is the easiest and most effective way to pinpoint every single air leak around your door frame.
- Wait until it’s dark outside.
- Go inside your garage and close the garage door. Turn off all the lights.
- Have a helper stand outside and slowly shine a bright flashlight along the entire perimeter of the garage door frame—top, sides, and where the frame meets the wall.
- From inside, any point where you see a beam of light cutting through the darkness is an air leak. Pay close attention to the corners and the seam between the wood trim and your home’s siding.
Step 2: Choose Your Materials: Caulk vs. Expanding Foam
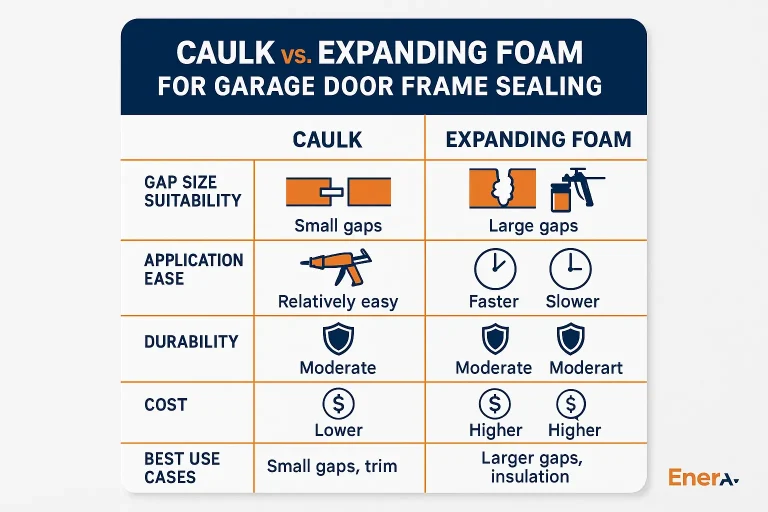
Once you’ve identified the gaps, you need the right tool for the job. Your two main options for sealing the frame-to-wall gap are sealant caulk and expanding foam.
- Use Exterior-Grade Sealant Caulk for small, uniform gaps (less than 1/4 inch wide). Caulk is best for creating a clean, weatherproof, and flexible seal. It’s neat, easy to apply precisely, and can be painted to match your trim.
- Use Low-Expansion Spray Foam for large, irregular gaps (wider than 1/4 inch). If you have significant gaps, especially around uneven surfaces like brick or stone, expanding foam fills these voids completely. Be sure to choose a “low-expansion” or “windows and doors” formula to avoid warping the door frame.
Choosing the right material is the first step in learning how to seal garage door gaps and improve your insulation effectively.
The Permanent Fix: How to Seal Gaps Around Your Garage Door Frame
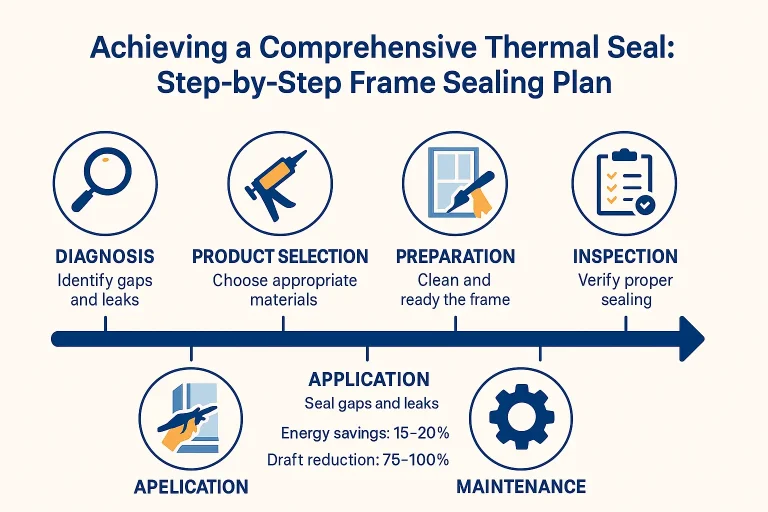
With your diagnosis complete and materials in hand, you’re ready to create a lasting seal.
- Clean the Area: The new sealant needs a clean, dry surface to adhere to. Use a stiff brush to remove any dirt, dust, or cobwebs. If there’s old, cracked caulk, use a utility knife or scraper to remove it completely.
- Apply Your Sealant:
- For Caulk: Cut the tip of the caulk tube at a 45-degree angle to create a small opening. Puncture the inner seal with a long nail. Apply a steady, continuous bead of caulk directly into the gap between the door frame and the wall. Use your finger or a caulk finishing tool to smooth the bead for a clean, watertight seal.
- For Expanding Foam: Shake the can vigorously for about 60 seconds. Slowly apply the foam into the gap, filling it only about 1/3 to 1/2 full. The foam will expand to fill the rest of the space.
- Let It Cure: Allow the sealant or foam to cure completely according to the manufacturer’s instructions. Curing times can vary based on temperature and humidity.
- Trim and Paint (If Needed): Once cured, you can trim any excess expanding foam with a serrated knife so it’s flush with the wall. If you used paintable caulk, you can now paint it to match your home’s trim for a seamless finish.
This process is a fundamental part of knowing how to fix garage door gaps on sides for a truly comprehensive solution.
Advanced Applications for Tricky Situations
Not all garage frames are perfectly smooth or simple. Here’s how to handle common challenges.
- Uneven Surfaces (Brick, Stone, Stucco): This is where low-expansion foam truly shines. It’s nearly impossible to get a perfect caulk bead against a rough surface. Foam expands to perfectly conform to every nook and cranny, creating a complete air barrier. The principles for dealing with irregular walls are similar to those for a garage keypad installation on uneven surfaces, where creating a stable and sealed base is key.
- Large Gaps at the Bottom of the Frame: If you see large gaps where the bottom of the wood door frame meets the concrete foundation, use expanding foam or pack the gap with backer rod before applying caulk for a durable seal.
- When It’s More Than the Frame: After sealing the frame-to-wall gap, if you still have drafts, it might be time to inspect the primary seals. A cracked or stiff bottom seal or worn-out side weatherstripping can undermine all your hard work. Knowing how to install a garage door weather seal is another valuable DIY skill for complete protection.
Frequently Asked Questions (FAQ)
Should a garage door be completely airtight?
While a 100% airtight seal is difficult to achieve, the goal is to get as close as possible. Sealing all intentional openings eliminates drafts, prevents energy loss, and keeps pests out. Proper ventilation for your garage should come from dedicated vents, not accidental leaks.
What are the signs I need to replace my garage door seals?
Beyond visible drafts, key indicators include seals that are cracked, brittle, flattened, or have visible gaps when the door is closed. If your rubber seals no longer feel flexible and pliable, they’ve lost their ability to seal effectively. You can learn more about common garage door seal failure signs here.
How much does garage door sealing cost?
Sealing the frame-to-wall gap is an incredibly cost-effective DIY project. A tube of high-quality exterior caulk or a can of low-expansion foam typically costs between $5 and $15. For less than the price of a movie ticket, you can make a significant impact on your home’s energy efficiency.
How can a garage door bottom seal help with energy efficiency?
The garage door is often the largest uninsulated opening in a home. A properly sealed door, especially at the bottom, prevents conditioned air from escaping your home (if the garage is attached) and stops unconditioned outside air from getting in. This reduces the workload on your HVAC system, leading to tangible energy savings over time. Explore the importance of garage door seals for energy efficiency to understand the full impact.
Beyond the Frame: Your Next Step to a Comfortable Garage
By taking a few minutes to diagnose and seal the hidden gaps between your garage door frame and your home, you’ve completed a pro-level task that many homeowners overlook. You’ve not only stopped drafts but also fortified your home against energy loss and pests.
This is a powerful step in creating a more comfortable and efficient space. While frame sealing is a crucial DIY fix, ensuring your door’s mechanical parts and primary seals are in top condition is equally important. If you’ve sealed your frame but still face issues, a professional inspection can help diagnose any underlying alignment or hardware problems.
You May Also Like
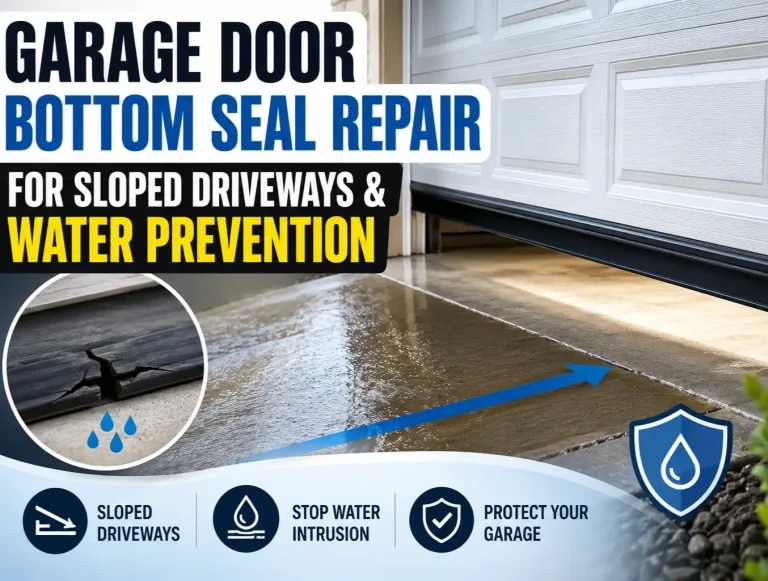
The Definitive Guide On A Two-Seal System For Sloped Driveways
That sinking feeling when you open the door to your garage and see it again: a dark, persistent puddle of water creeping in from under the door. You’ve probably tried everything. Maybe you even replaced the rubber…
Published Date: Jul 9, 2026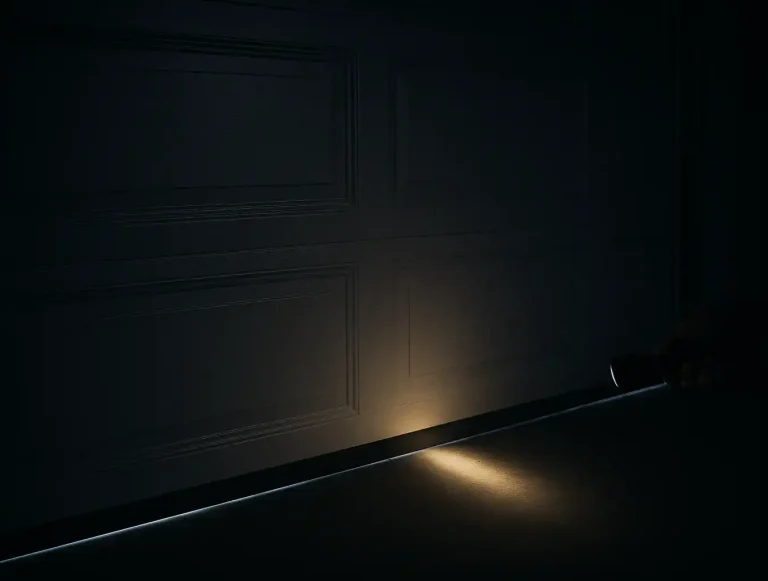
How To Upgrade Garage Door Bottom Seal for Better Protection
You pull into the garage after a long day, and there it is—a small puddle of water near the door after a rainstorm. Or maybe you’ve noticed unsettling signs of tiny, unwelcome visitors: chewed-up cardboard or…
Published Date: Jul 1, 2026
Energy-Efficient Garage Doors: Save on Utility Bills
Still wondering why are energy-efficient garage doors so popular with both businesses and homes? They save you money on your electricity bill and make your home look great. In this article, we’ll get into…
Published Date: Oct 29, 2024