





Sizing, Framing, and Counterbalance Requirements for Tilt-Up Garage Doors
Published: Aug 11, 2026
While modern sectional systems are standard in new developments, single-panel tilt-up garage doors remain highly sought after for mid-century modern historical preservation and tight-headroom retrofits. However, many property owners struggle to find precise structural engineering specifications for these single-panel configurations.
Installing or replacing a tilt-up door is not simply a cosmetic update; it is a high-precision structural task. Miscalculating structural clearances or utilizing insufficient framing materials can result in binding, structural failure, or severe injury. This guide breaks down the critical framing dimensions, counterbalance physics, and safety parameters required to execute a reliable, code-compliant installation.
Structural Framing Requirements (The UBC Standard)
A tilt-up garage door operates as a rigid, heavy plane pivoting on a centralized hardware system. Consequently, the lateral and vertical forces exerted on the door jambs are substantially higher than those of a sectional door. To safely anchor the master plates and absorb these operational forces, the Uniform Building Code (UBC) dictates specific framing standards.
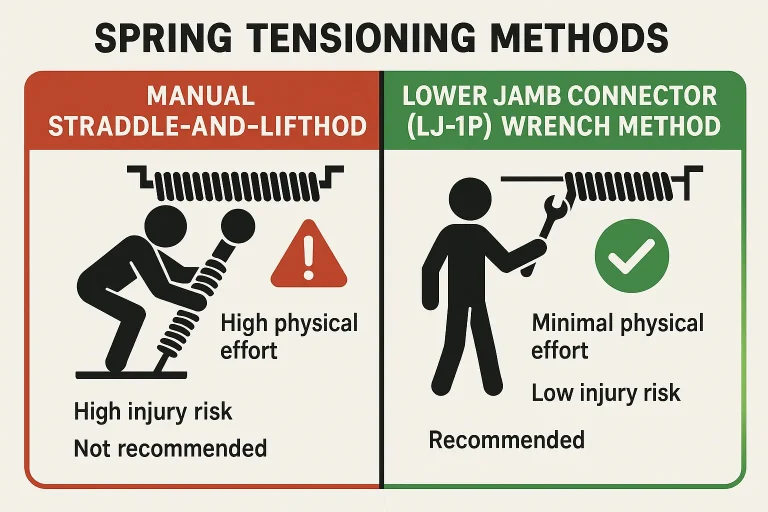
The side jambs must be constructed of minimum 2×6 structural-grade lumber with Douglas Fir density or higher. Softwoods like white pine or spruce lack the fiber density to securely retain lag screws under continuous dynamic tension, increasing the risk of lag screw tear-out.
If you are retrofitting hardware onto an existing frame, never reuse old lag screw holes. This significantly compromises the structural integrity of the wood. To remediate compromised jambs, you must employ one of four approved structural methods:
- Dowel plugging: Bore out the old hole, insert a hardwood dowel glued with structural adhesive, and drill a new pilot hole.
- Through-bolting: Drill entirely through the jamb and secure the hardware plate using heavy-duty carriage bolts, washers, and locking nuts.
- Master Plate bracing: Install a steel backing plate to sandwich and reinforce the lumber.
- Complete jamb replacement: Rebuild the opening frame to ensure maximum stability.
Proper execution of garage door framing guarantees that your mounting surface remains structurally sound. For heavier custom wood or composite panels, you may also require custom garage door structure reinforcement to prevent panel sagging or warping over time.
Exact Sizing and Clearance Calculations (The Math Competitors Miss)
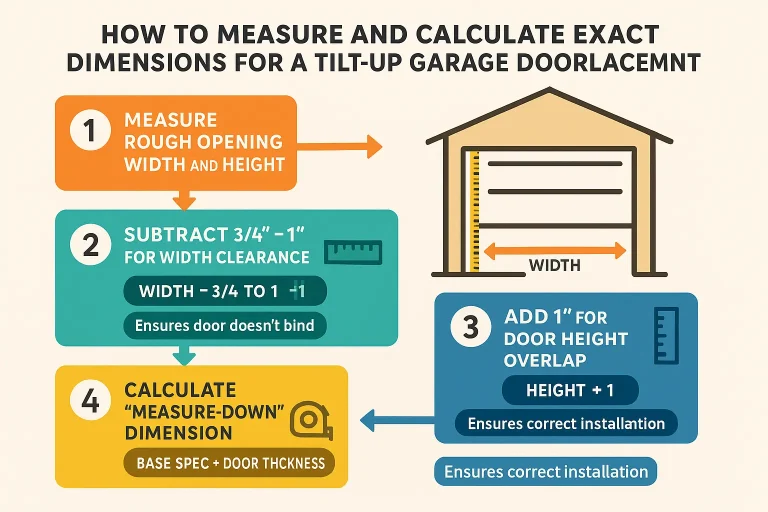
Unlike sectional doors that slide vertically within a tracks-and-rollers system, tilt-up doors require exact physical clearances to swing outward and inward without colliding with the jambs or header.
To calculate the proper dimensions for your replacement panel, use the following formulas:
- For the Width: Make your actual door 3/4 to 1 inch narrower than the hole in the wall. This leaves just enough wiggle room (about 3/8 inch on the left and right) so you can perfectly level and adjust the door during installation.
- For the Height: Make your actual door 1 inch taller than the hole in the wall. That extra inch makes the top of the door overlap the frame, creating a tight seal that blocks out drafts and light when the door is closed.
Calculating the “Measure-Down” Dimension is equally critical. This is the precise distance measured from the bottom of the header to the top lag screw hole of the hardware’s Master Plate. To find this, take the hardware manufacturer’s base measure-down dimension and add the door’s total thickness (including any face-mounted trim, cladding, or molding). Failing to add the door thickness will cause the panel to tilt backward or bind against the header during its travel.
Properly securing the track system and keeping it aligned is crucial for this movement. Refer to our step-by-step guides on garage door track installation and maintaining precise garage door track alignment to avoid binding.
The Counterbalance System: Spring Physics & Selection
Because single-panel doors consist of one heavy piece, their counterbalance systems rely on high-energy side extension springs. Selecting the correct spring rating is paramount to ensure smooth, safe operation.
When replacing garage door springs, you must understand their standardized labeling codes. For example, a spring stamped with P728C indicates:
- P: Plug-end connection style.
- 7: 7-gauge steel wire diameter.
- 28: 28-inch nominal coil length.
- C: Integrated containment safety wire.
UBC standards dictate that tilt-up springs must withstand a minimum of 9,000 operational cycles. Over time, metal fatigue degrades both side springs symmetrically. Consequently, manufacturers mandate replacing both springs at the same time every 5 years, even if only one has broken.
When tensioning, the spring’s pre-stretch must never exceed 2 inches when the door is in the fully open position. Over-stretching deforms the steel, rendering the system unstable. Clearance limits also scale based on your mounting position. Using industry-standard Holmes E900 hardware, your headroom demands scale with the selected pivot point:
- Hole #1 requires 5 inches of clearance.
- Hole #2 requires 3 inches of clearance.
- Hole #3 requires 1 inch of clearance.
Safety-First Spring Installation: DIY vs. Professional Complexity
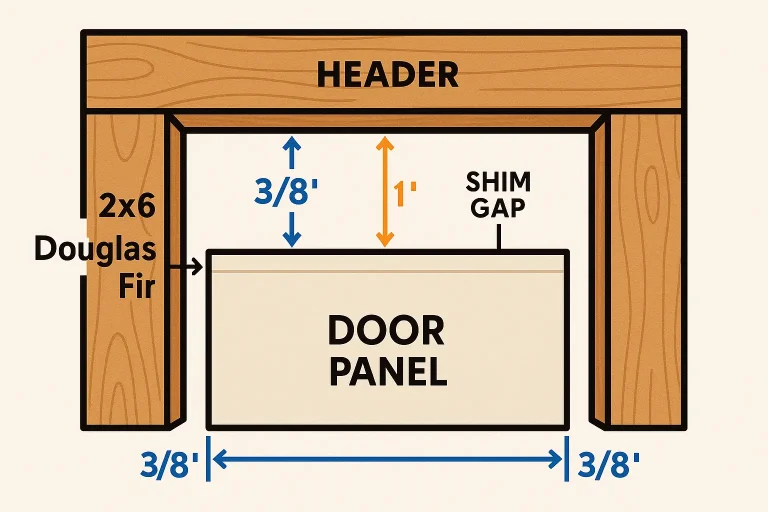
Manipulating high-tension springs is one of the most hazardous home maintenance tasks. To help you evaluate the safety margins, let’s contrast the two primary installation methods.
The Manual Straddle-and-Lift Method
Historically, installers used physical strength to tension springs. This high-risk method requires straddling the un-tensioned springs, gripping the top, and pulling upward using legs and back force to stretch the spring onto the kicker hook. A single slip can cause severe impact injuries. Understanding why are garage door springs dangerous is critical before attempting this manual method.
The Lower Jamb Connector (LJ-1P) Wrench Method
A safer, modern alternative involves using the Lower Jamb Connector (LJ-1P) system. This system utilizes a threaded drawbolt that allows you to safely pre-stretch and tune the springs using a standard hand wrench or screwdriver, removing the need for raw physical pulling.
Evaluating the overall garage door installation complexity is vital before deciding to tackle this as a DIY project. While a skilled DIYer can manage standard single-car replacements using the LJ-1P system, a professional installer should be brought in immediately if there is structural wood rot, if you are installing massive double-car wooden doors without truss rods, or if the opening frame is severely warped.
Micro-Adjustments & Troubleshooting Operational Failure
Once installed, your single-panel door may require minor calibration to balance its movement and ensure it rests flush against the frame.
- Issue: The door opens too fast or slams open.
Solution: The spring tension is too high relative to the pivot position. Loosen the tension slightly or relocate the kicker adjustment bolt closer to the main pivot point on the master arm.
- Issue: The door feels heavy or is difficult to lift.
Solution: The system lacks adequate leverage. Relocate the kicker adjustment bolt outward (away from the main pivot point) to increase leverage.
- Issue: The door panel drops down or sags in the center.
Solution: Wood door panels naturally sag over time. Tighten the tension nuts on the door’s diagonal metal truss rods to pull the wood frame back into a perfectly flat plane.
Frequently Asked Questions
Can I automate a tilt-up garage door with a standard opener?
Yes. However, you must use a specialized drawbar arm or canopy door adapter to translate the vertical pull of a standard opener into the curved travel arc of a single-panel door.
What happens if I use the wrong spring gauge?
Under-specifying a spring leads to a heavy, dangerous door that may fall shut. Over-specifying makes the door incredibly difficult to close and places excessive upward force on your header, warping the track assembly.
How do I identify a failing tilt-up door spring before it snaps?
Inspect the coils for gaps, rust, or localized elongation. If the spring remains stretched out when the door is closed, or if you hear loud squeaks during operation, the steel has fatigued and requires replacement.
Make Your Next Step a Safe One
Precision framing, exact mathematical clearances, and proper spring selection are the keys to a safe tilt-up door installation. If your frame has structural rot, or if you are uncomfortable handling high-tension hardware, let our team of licensed technicians assist you.
With over 15 years of industry experience and certified access to premium Clopay and LiftMaster systems, Up & Down Garage Doors delivers transparent pricing and dependable, 24/7 service. Contact us today to schedule your professional garage door installation near me and ensure your home’s entry is structurally sound.
You May Also Like
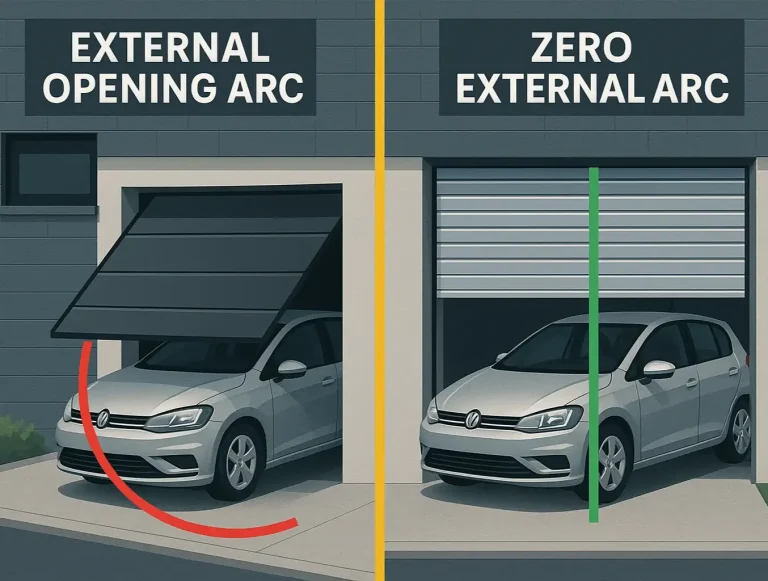
Roll-Up vs. Sectional Garage Doors: Maximizing Driveway Clearance
Living in the city has its perks, but a sprawling driveway usually isn't one of them. You've mastered the art of parallel parking and can navigate a tight alley like a pro. But there's one daily puzzle you still…
Published Date: Jun 22, 2026
Emergency Exterior Access for Commercial or Rolling Steel Garage Doors
The power is out. Your delivery truck is loaded and needs to leave, but the massive rolling steel door to your warehouse is sealed shut. Or maybe the motor made a grinding noise and now refuses to budge. Panic starts…
Published Date: May 27, 2026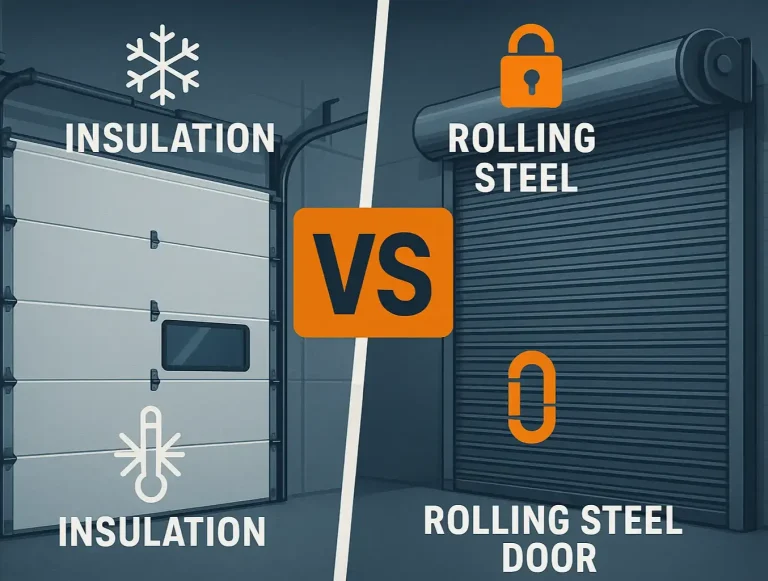
Sectional vs. Rolling Steel Commercial Doors: Which is Best
Choosing a commercial garage door can feel like a simple line item on a facility budget, but it’s one of the most critical decisions you’ll make for your business's security, efficiency, and profitability. The wrong…
Published Date: Jun 9, 2026