How to Read Genie Garage Door Opener Error Codes
Published: Oct 5, 2026
Standing in your garage with a door that refuses to close is incredibly stressful. Fortunately, Genie’s self-diagnostic systems are designed to pinpoint the exact issue. This comprehensive guide helps you decode those blinking lights, bypass errors in an emergency, and determine whether you can resolve the issue yourself or need professional support.
EMERGENCY SENSOR OVERRIDE: To close your garage door right now, press and hold the wall console button continuously until the door is fully shut. If you release the button early, the door will reverse. Note: Wireless remotes and keypads will not work during this manual override.
Where is Your Diagnostic Light Flashing?
Before diving into technical charts, you must first identify which diagnostic system is flashing. Genie openers communicate errors through two distinct locations: the floor-level sensors near the ground or the overhead motor unit on your ceiling. Mixing these up is the most common DIY mistake and leads to unnecessary troubleshooting frustration.
[Section: Visual Decision Fork ‘Identify Your Flashing Light’ at the start of troubleshooting guide]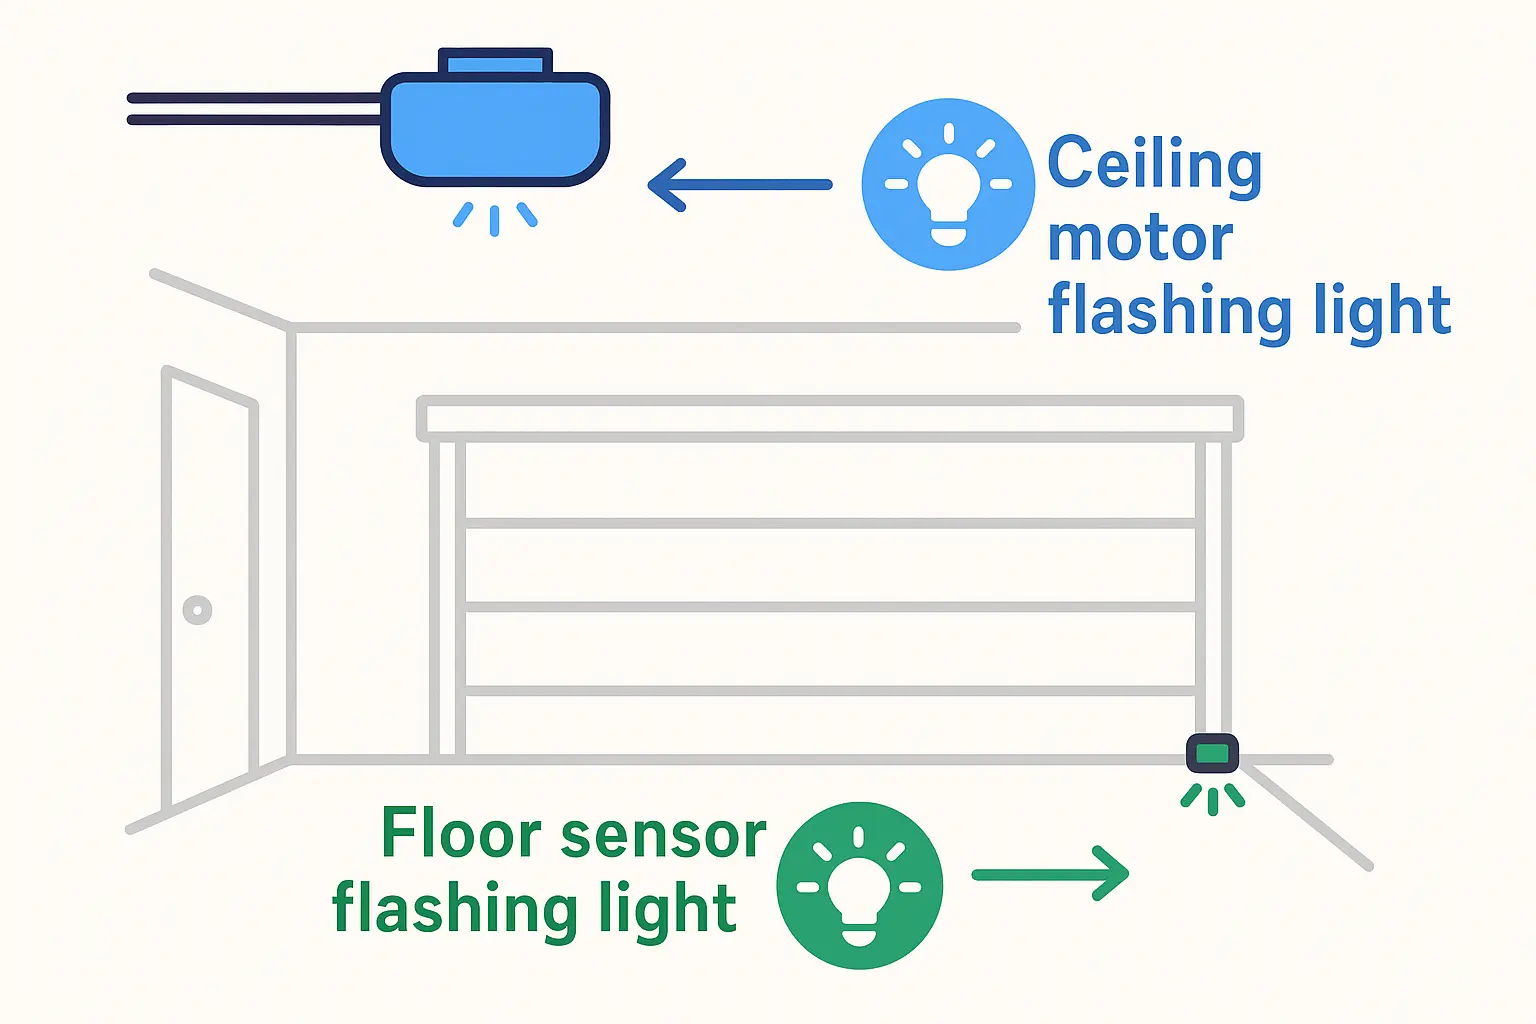
If you are experiencing more general issues, review our comprehensive guide on genie garage door troubleshooting to pinpoint common mechanical and electrical issues.
Floor-Level Safe-T-Beam Diagnostic Guide
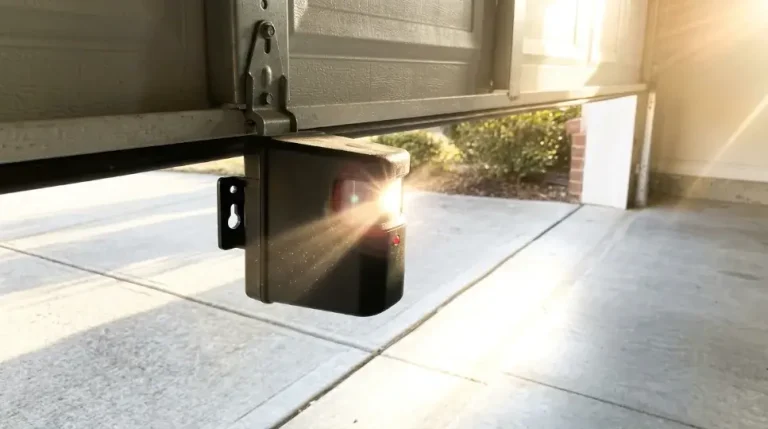
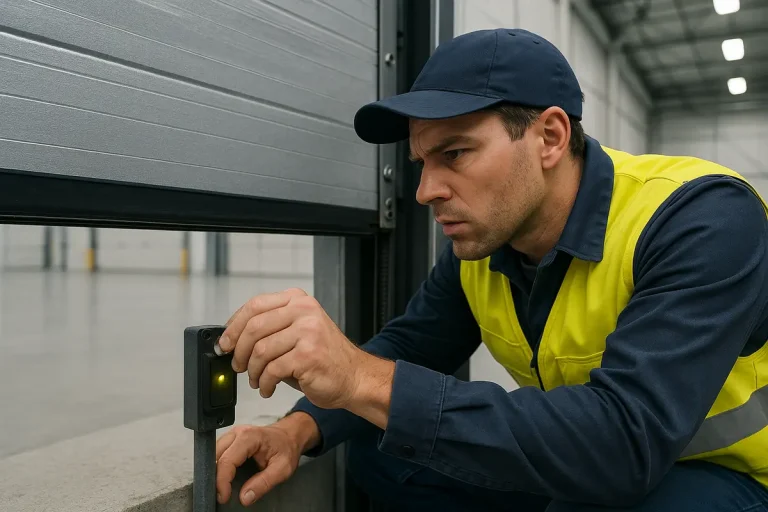
Genie Safe-T-Beams feature a Sending Sensor (Red LED) and a Receiving Sensor (Green LED). Under normal operation, both lights must remain solid. If you notice a green light on garage door sensor blinking or a red LED flashing, refer to the diagnostic chart below.
[Section: Floor-Level Safe-T-Beam Diagnostic Guide]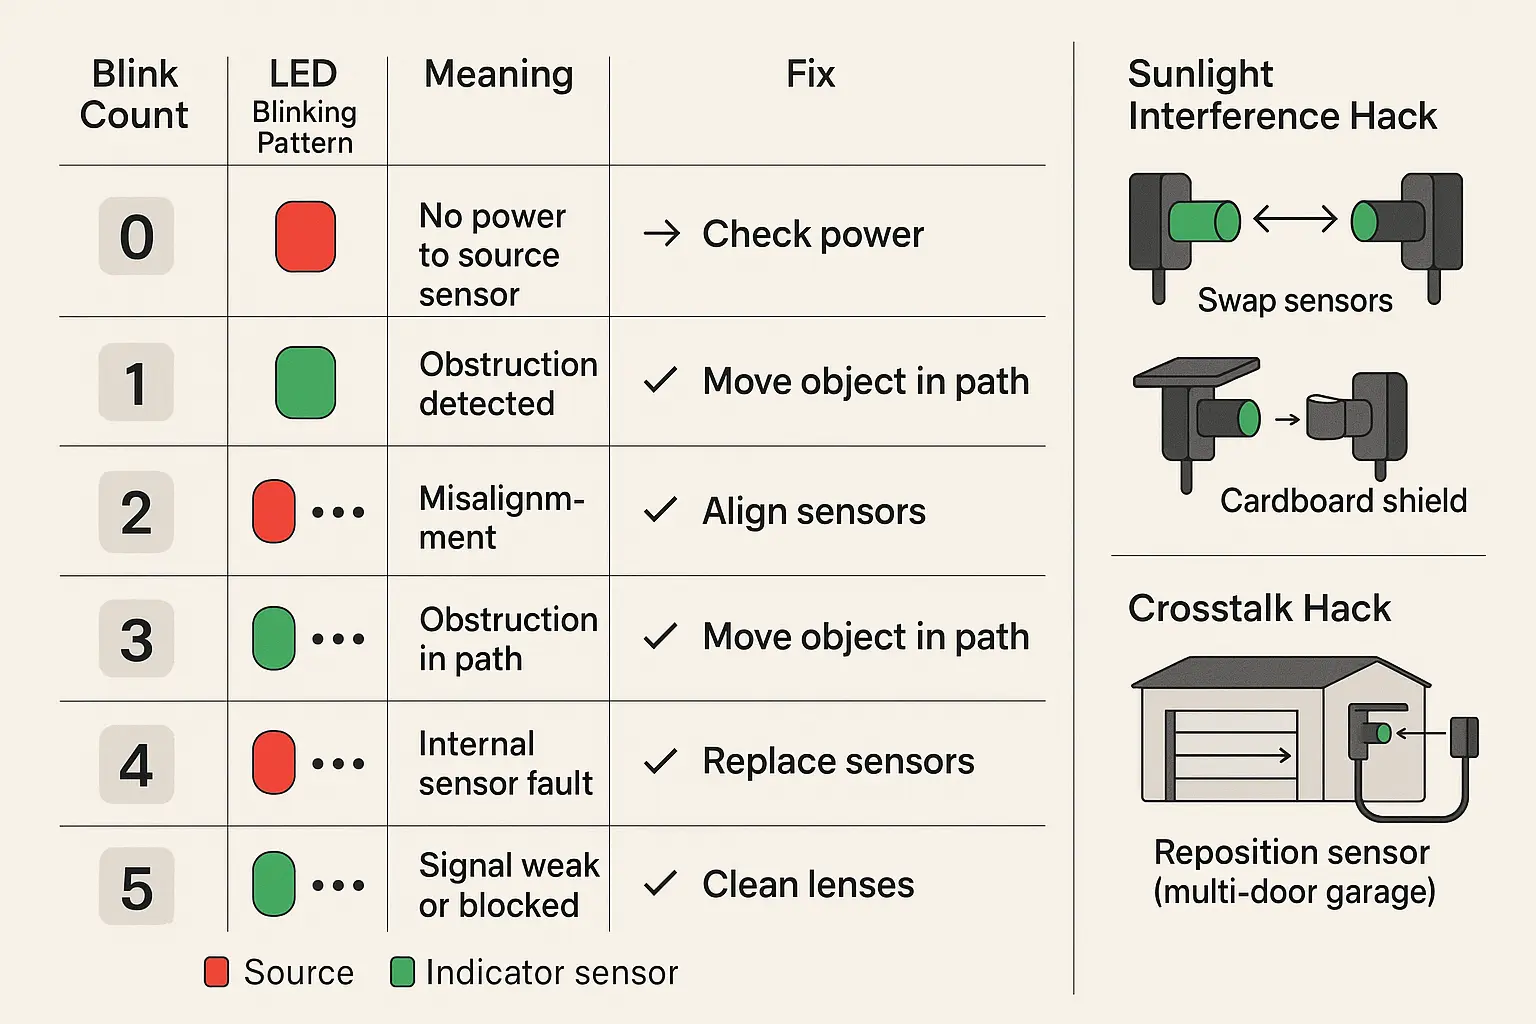
Resolving Floor Sensor Blinks
- 1 Blink: Physical obstruction. Clear objects, sweep away cobwebs, or wipe the lenses clean with a microfiber cloth.
- 2 Blinks: Misalignment. If you see no green light on garage door sensor, loosen the bracket wing nut and adjust the physical alignment until both lights turn solid. You can learn how to fix garage door sensor brackets safely to ensure long-term stability.
- 3 Blinks (Sunlight/Crosstalk Anomaly): Direct sunlight can blind the receiving lens. Solve this by swapping the physical positions of the red and green sensors so the green receiver is positioned on the shady side of the garage, or slide a small cardboard sleeve over the sensor to block glare. For multi-door setups, crosstalk occurs when adjacent beams interfere; swap the left and right sensor positions of one door to isolate the signals. If issues persist, check if your unit is experiencing an intermittent garage door sensor failure.
- 4 Blinks: Broken wire. Check your garage door safety sensor wiring diagram and inspect the bell wire path for staples, pinch points, or breaks.
- 5 Blinks: Low voltage. If you suspect your components are failing, you may wonder: do garage door sensors go bad? Yes, and a 5-blink error often indicates internal hardware damage, requiring a replacement Safe-T-Beam kit (Part # 37220R).
Modern Dual-LED Powerhead Diagnostics
Modern Genie models (including SilentMax, MachForce, and standard chain or belt drives) use adjacent Red and Green LEDs next to the “Program” buttons on the ceiling powerhead.
[Section: Modern Dual-LED Powerhead Diagnostics]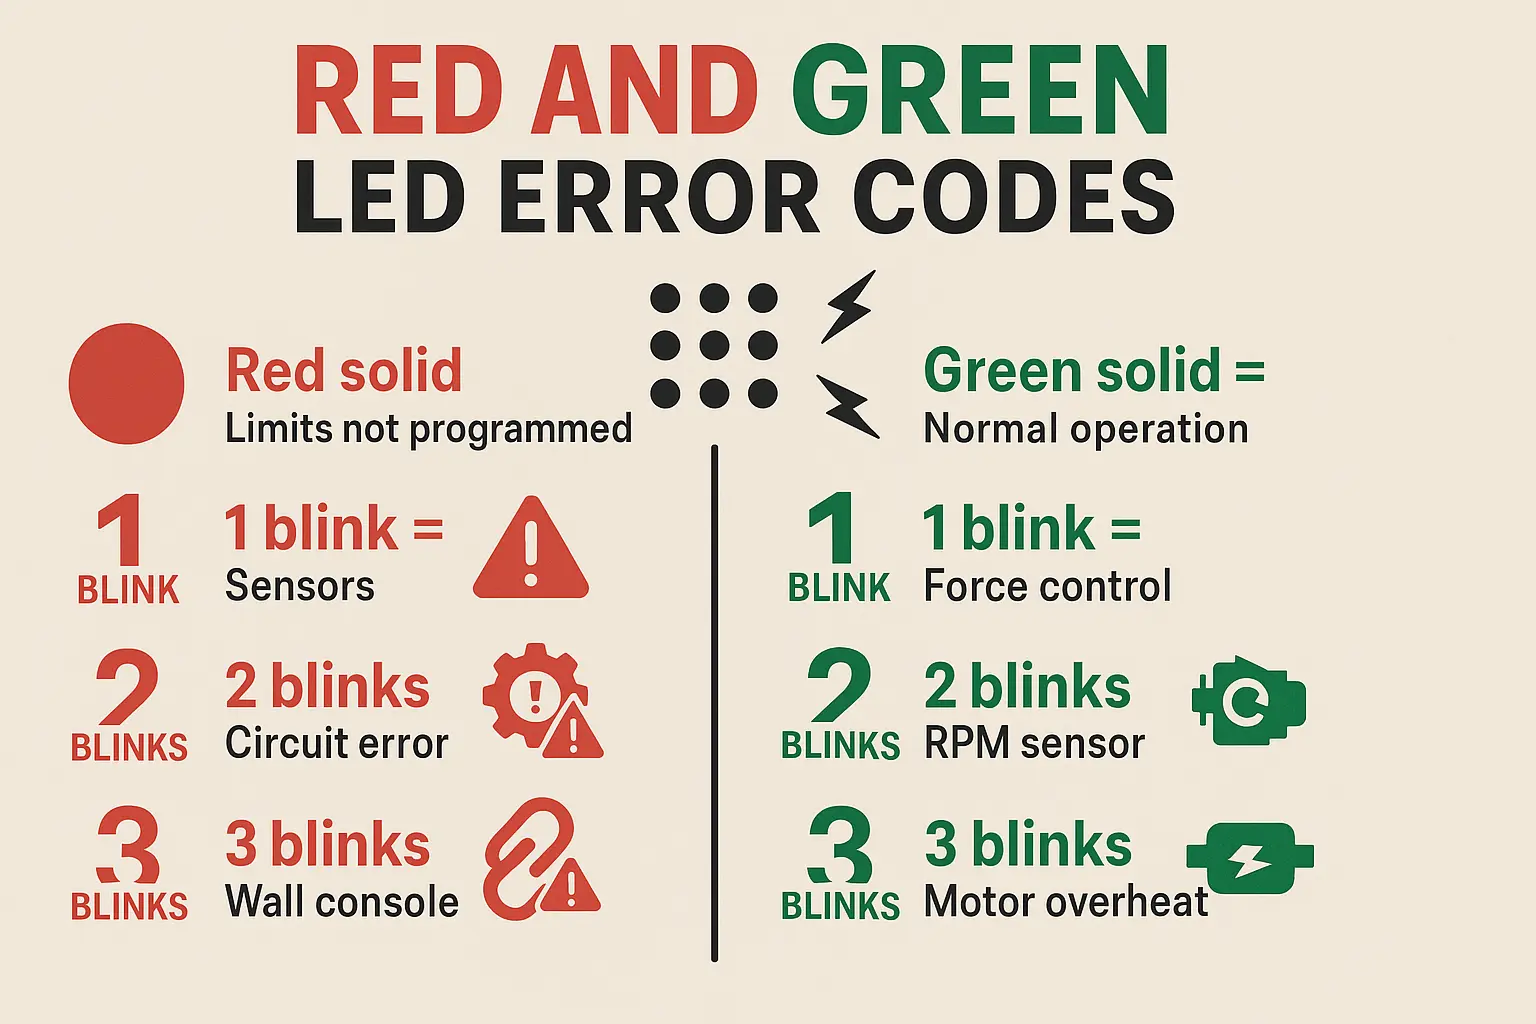
Reading Ceiling Powerhead Codes
- Red LED Solid: Limits are not programmed. You must run the physical limit setup sequence.
- Red Blinks 1 Time: Remote transmitter is unprogrammed. Use the standard pairing sequence to re-sync.
- Green Blinks 1 Time: Travel limits incomplete or the door is binding. If the door feels exceptionally heavy to lift manually when released, you likely need to replace garage door spring near me to restore proper tension and balance.
- Green Blinks 2 Times: Sensor misalignment or loose wiring. Verify Safe-T-Beams are solid and check terminal connections 1 and 2 on the motor.
- Green Blinks 3 Times: Travel limits are reversed. Read our guide on how do you reset the limit on a garage door? to clear and reprogram the travel path correctly.
- Green Blinks 4 Times: Wall button short. If your garage door wall button not working situation persists, check that the white wire connects to terminal 3 and the striped wire to terminal 4.
- Green Blinks 5 Times: Chain/belt is overtensioned or the logic board has failed. Try loosening the tension nut on the rail.
If your motor remains completely unresponsive, follow our step-by-step instructions on how to reset garage door opener systems to factory defaults.
Vintage Excelerator Screw-Drive Diagnostics
Older Genie Excelerator screw-drive models (H8000, ISD990, PRO99) utilize a single diagnostic light located behind the light lens cover.
- 1 Blink: Motor drive board interrupt. Power cycle the opener and check the internal ribbon cable.
- 2 Blinks: Controller board failure. Check connections; may require board replacement (Part # 36600R.S).
- 3 Blinks: Overheated. Do not unplug the unit; wait 15 minutes for the thermal cutout to reset.
- 4 Blinks: Force limits incorrect. Adjust the open/close force dials on the rear panel.
- 6 Blinks: Wall console wiring short. Inspect the wiring path to the wall station.
- 7 Blinks: Limit switches malfunctioning. Inspect the physical Down (brown wire) and Up (white wire) switches on the rail.
- 8 Blinks: Vacation lock engaged. Slide the lock switch on your wall console to the unlocked position.
Deciding When to Call the Professionals
While sensor alignment and basic limit reprograming are highly manageable DIY tasks, mechanical faults require expert attention. Torsion springs, heavy cable drums, and off-track doors operate under extreme tension and can cause severe injury if handled incorrectly. If diagnostic flashes indicate binding (Green 1-Blink) or structural imbalance, rely on trained professionals to restore your system safely.
Frequently Asked Questions
Why is my Genie garage door opener light flashing but the door won’t close?
This is typically triggered by a safety sensor issue. The floor-level Safe-T-Beams are detecting an obstruction, are misaligned, or are experiencing intense sunlight glare. You can temporarily bypass this to close the door by holding down the wall console button continuously.
What does 3 blinks on a Genie floor sensor mean?
Three blinks on the red sensor indicates infrared interference. This usually happens when intense sunlight blinds the green receiving sensor or when a neighboring garage door opener’s sensor causes signal crosstalk.
How do I factory reset my Genie garage door opener?
To clear the travel limit memory, hold down both the UP and DOWN arrow buttons on the powerhead simultaneously for approximately five seconds until the LEDs flash. You can then begin the reprograming sequence.
You May Also Like